
Imagine saying goodbye to an endless wait for hot water. In the article “How Many Hours Does It Take To Install A Tankless Water Heater?” you will find exactly what you’re looking for. Unearth the answer to this crucial question and discover an insightful, practical perspective on the time spent in setting up this essential home appliance. This guide offers valuable information that will help you make an informed decision about whether tankless water heaters are the right choices for your home.
Understanding the Basics of a Tankless Water Heater
Before we discuss the process of installation of a tankless water heater, let’s ground ourselves with some of the basics.
Definition of a tankless water heater
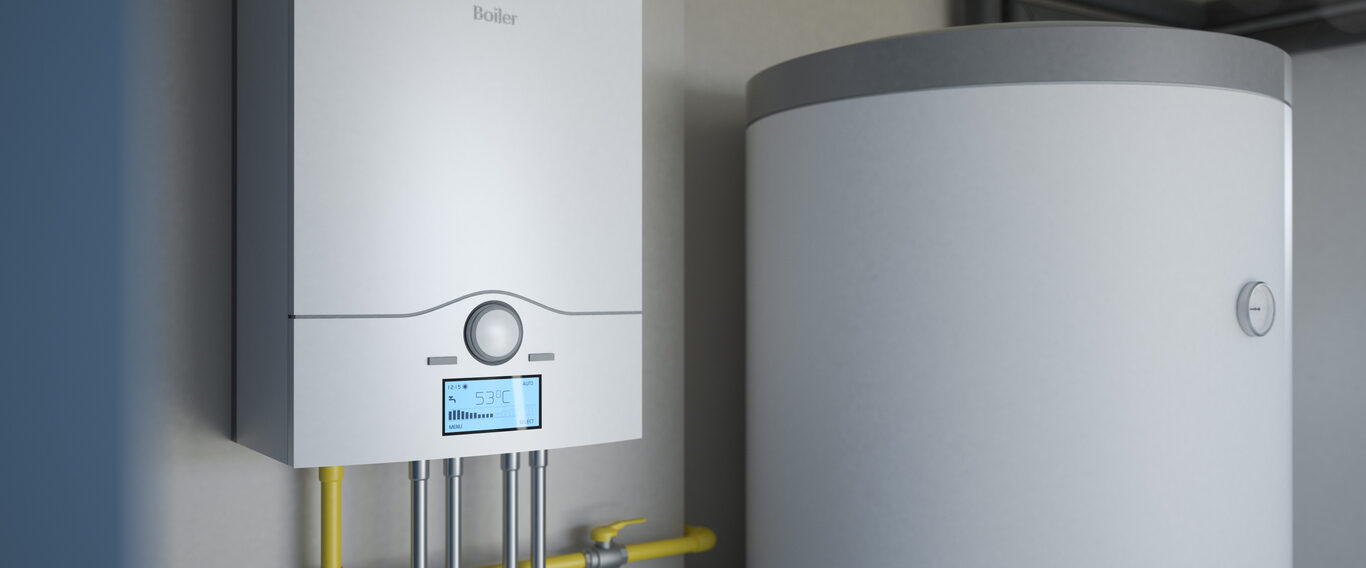
A tankless water heater, also known as an on-demand water heater, is a compact home appliance designed to supply hot water as needed. Unlike traditional models, which constantly heat and store water in a large tank, tankless water heaters use high-powered burners to quickly heat cold water flowing through a heat exchanger constantly as you need it.
Difference between traditional and tankless water heaters
The key difference between traditional and tankless water heaters lies in the availability and supply of hot water. Traditional water heaters constantly heat water in the tank, whether you use it or not, resulting in energy waste. On the other hand, tankless water heaters supply hot water only as needed hence reducing energy waste and saving you money.
Benefits of a tankless water heater
Tankless water heaters have an array of benefits. They are energy efficient as they only heat water when it’s needed, resulting in significant energy savings. Space-wise, they are compact and require less room than traditional tanked heaters. In addition, they provide you with an endless supply of hot water, and typically have a longer lifespan than their tanked counterparts.
Assessing the Installation Site
Before switching to a tankless water heater, you need to assess your installation site.
Evaluating your current water heater setup
Begin by considering your current water heater setup. Knowing the type and size of your existing unit will provide a baseline for determining the best tankless model for your home.
Considering the location for the new heater
Next, consider where the tankless water heater will go. It should be conveniently placed near most frequently used hot water outlets and close to the gas or electrical supply. Also, because tankless units need to vent outdoors, ensure it’s possible to run venting ductwork from the chosen location.
Inspecting required space for the tankless system
Though compact in size, tankless water heaters still require adequate space for installation and maintenance. You would need to have room for the heater itself, and reasonable clearance for ventilation and access during maintenance or repair.
Checking the availability and condition of necessary utilities
Lastly, check the utilities such as water, gas (for gas-powered systems), or electricity (for electric systems), and ensure they’re in good condition. Usually, you may need to upgrade your gas line or electrical system.
Pre-Installation Preparations
After assessing the installation site, it’s time to prepare for the installation.
Gathering of required tools and equipment
Start by assembling all required tools and equipment. Typically, you’ll need pipe cutters, wrenches, screwdrivers, a drill, and perhaps more. If you’re doing a DIY installation, it’s necessary to conduct a detailed research to ensure you have everything you need.
Acquiring necessary permits
Before removing your old water heater and installing a new one, ensure that you have acquired any necessary permits. Rules on permits vary depending on your local regulations, so it’s crucial to check with the appropriate local agency.
Selection of the right tankless water heater model based on requirements
When selecting a model, consider the size that would adequately meet your home’s hot water demand. It’s also essential to consider its energy rating as it affects your utility bills.
Time to Remove the Old Water Heater
Once everything is in order, it’s time to remove your old water heater.
Safe methods to disconnect the old unit
Start by turning off the power supply and disconnecting the water and gas lines. Always ensure the hot water faucets in your home are turned off.
Properly draining and removing the old water heater
Before you can remove the old heater, you need to drain it completely. Connect a garden hose to the drain valve and redirect the water to a suitable location, then open the valve. Once it’s empty, you can remove the heater.
Dealing with any damage or unexpected issues identified during removal
During the removal process, you may stumble upon unexpected issues like water damage or even faulty wiring. These need to be solved first before the installation of the new unit.
Required Plumbing Adjustments
After removing your old water heater, now it’s time for plumbing adjustments.
Upgrading of water lines, if necessary
Depending on the model, you may need to upgrade your water lines to support the new heater’s requirements, ensuring it can provide optimum performance.
Installation of new valves or fittings
Tankless water heaters usually require new valves or fittings, which helps controlling water flow and pressure.
Potential need for a recirculation pump
To provide instant hot water and avoid water wastage, you might consider installing a recirculation pump with your tankless heater.
Understanding the Electrical Requirements
Your new tankless water heater will have specific electrical requirements.
Adapting the electrical system for the new heater
Many tankless models require their dedicated circuit. Depending on the capacity of your unit, you might need to add a new circuit to your electrical system.
Safety precautions during electrical wiring
Ensure you follow all the manufacturer’s instructions and abide by all local electric codes to avoid a potential fire hazard or damaging the unit.
Installation of the Tankless Water Heater
You’re now ready to install your new tankless water heater.
Arranging the heater unit properly
Start by correctly mounting the unit on your chosen location, ensuring it’s firm and in level.
Connecting the water and gas or electric supply
Following the manufacturer’s instructions, connect your heater to the water supply, and the gas or electricity depending on the type of heater you have chosen.
Attaching necessary venting system
If you’ve chosen a gas-powered tankless heater, you’ll need to install a venting system. It’s critical for getting rid of combustion gases and maintaining good indoor air quality.
Testing and Finalizing Installation
Now that your new heater is installed, you need to test it and finalize the installation.
Performing initial start-up of the heater
Turn on the power supply and do an initial start-up. If everything works fine, your heater is installed correctly.
Checking for leaks or malfunction
Inspect the connections for leaks or any malfunction. If you find any, immediately shut off the power and water supply and contact a professional.
Adjusting heater settings according to user preference and requirements
Finally, adjust the heater’s digital interface to your desired settings.
Factors Influencing Installation Time
Installation of tankless water heaters is not an exact science and different factors can impact the time taken.
Complexity of the installation site
The complexity of the location could significantly influence the time it takes to install your heater. The more challenging the placement , the longer the installation process.
Experience level of the installer
If you plan on installing the unit yourself, be aware that a lack of experience may cause additional time and potential errors. An experienced professional can finish the task far quicker and with less likelihood of errors.
Unforeseen complications during the process
Unexpected issues such as an incompatible system, outdated electrical or plumbing setup can add unplanned for hours to the installation process.
Professional versus DIY Installation
Lastly, let’s discuss the idea of DIY installation versus hiring a professional.
Comparing the time involved in self-installation vs hiring a professional
While the idea of DIY may seem economical and pleasing, it usually takes significantly longer than if done by a professional. Professionals bring expertise and can handle all the complications, getting the job done quickly and correctly.
Potential pitfalls and mistakes during DIY installation
DIY installations can also lead to potential pitfalls and mistakes. You might end up compromising your safety, invalidating your warranty, or even spending far more money on repairs and adjustments later on.
Benefits of hiring a professional for installation
Professionals not only bring their expertise but also come with comprehensive insurance that covers any issues that may occur during the installation process. Additionally, many professionals offer maintenance and repair services that could be handy in the future.
So, how long does it take to install a tankless water heater? It can take anywhere from three to six hours based on the complexity of the site, your experience, and whether you chose DIY or hired a professional. Plan your time accordingly, and enjoy the benefits of instant, on-demand hot water at your fingertips.