
So, you want to make sure that your water heater is working properly but you’re not sure how to test it? Don’t worry, we’ve got you covered! In this article, we will walk you through a simple and effective method to test your water heater at home. By following these steps, you can ensure that your water heater is functioning efficiently and providing you with the hot water you need for your daily activities. Ready to get started? Let’s dive in and learn how to test your water heater!”
How to Test Your Water Heater at Home
If you’re wondering how to test your water heater at home, look no further! In this comprehensive guide, we’ll walk you through all the steps you need to take to ensure your water heater is in prime working condition. By following these simple instructions, you can save yourself from unexpected cold showers and potentially costly repairs.
Check for Hot Water
The first step in testing your water heater is to check if you have hot water. Turn on a hot water faucet in your house and wait for the water to heat up. If hot water doesn’t come out after a reasonable amount of time, it may indicate a problem with your water heater.
Inspect the Water Heater Tank
While testing your water heater, take a close look at the tank itself. Look for any signs of leakage, corrosion, or rust on the tank’s exterior. Additionally, check the temperature and pressure relief valve (TPR valve) located on the side of the tank for any signs of leaks or water discharge.
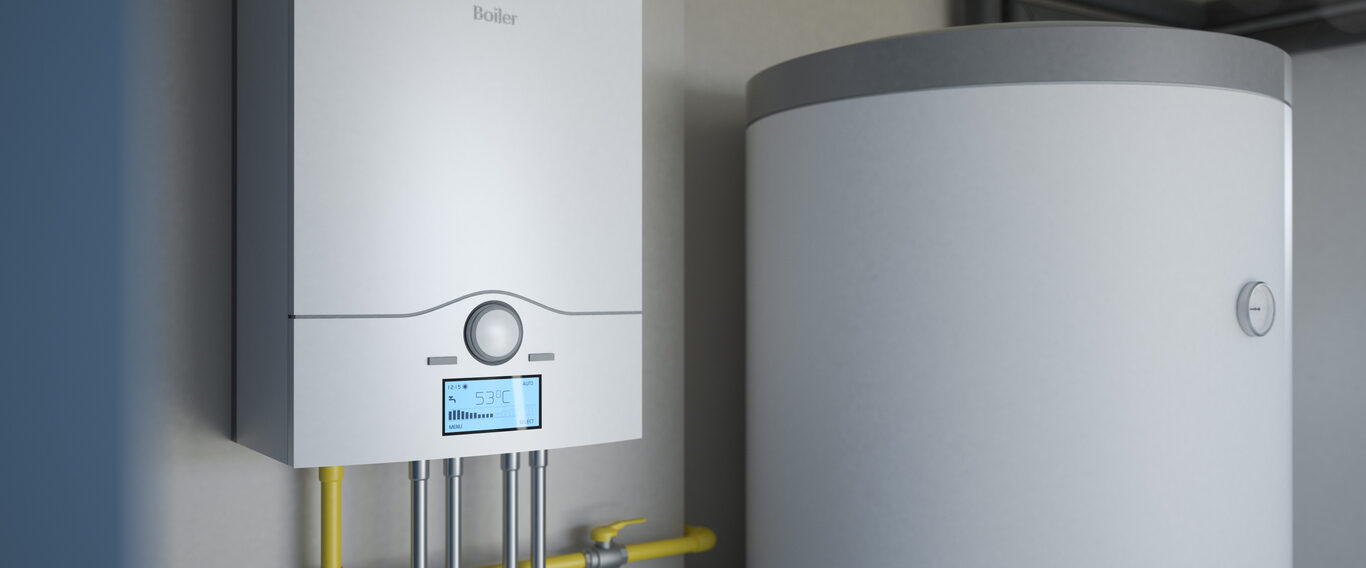
Check the Temperature Setting
To ensure your water heater is working efficiently, make sure the temperature setting is appropriate. It’s recommended to set your water heater’s temperature between 120-140 degrees Fahrenheit (49-60 degrees Celsius) to prevent scalding and save energy. Adjust the temperature by using the thermostat located on the front of the water heater if necessary.
Check the Pressure Relief Valve
The pressure relief valve is a crucial component of your water heater’s safety system. To test its functionality, place a bucket underneath the TPR valve and lift the lever gently. If the valve opens and releases hot water, it’s working correctly. Ensure that the TPR valve is not leaking or continuously discharging water, as this could be a sign of an issue.
Test the Heating Element
If you’re not getting sufficient hot water or your water is not heating up as expected, it may be due to a faulty heating element. Turn off the power to your water heater and use a multimeter to test the heating element’s functionality. If the reading shows no continuity, it indicates a defective heating element that needs replacement.
Flush the Water Heater
Regularly flushing your water heater helps remove sediment buildup that can affect its efficiency and lifespan. Connect a hose to the drain valve located near the bottom of the tank and direct the other end to a floor drain or outside area. Turn off the power and water supply to the heater, open the drain valve, and let the water flow until it runs clear. This process should be done annually to maintain your water heater’s performance.
Check for Unusual Noises or Vibrations
While your water heater operates, listen for any unusual noises such as banging, rumbling, or popping sounds. Excessive noise or persistent vibrations could indicate a sediment buildup, a failing heating element, or other mechanical issues. If you notice anything out of the ordinary, it’s best to consult a professional plumber to diagnose and resolve the problem.
Inspect the Pilot Light
For gas water heaters, inspecting the pilot light is crucial. Locate the access panel near the bottom of the water heater and remove it. Take a look to see if the pilot light is lit. If it’s out, follow the manufacturer’s instructions to relight it. A properly functioning pilot light ensures the gas burner ignites correctly, providing you with hot water.
Check for Leaks
Inspect your water heater and its surrounding area for any signs of leaks. Look for water pooling on the floor, dampness on walls or ceilings nearby, or any moisture around pipe connections and valves. Even a small leak should not be ignored, as it can worsen over time and lead to significant water damage. If you detect a leak, it’s essential to address it promptly to prevent further problems.
Check the Age of the Water Heater
Water heaters typically have a lifespan of around 8-12 years. If your water heater is reaching or exceeding this age range, it’s crucial to keep a close eye on its performance. Older water heaters are more prone to issues and may become less energy-efficient over time. If you are experiencing frequent problems or a decline in performance, it might be a sign that it’s time to replace your water heater.
In conclusion, testing your water heater at home is an essential maintenance task that ensures a reliable supply of hot water. By following the steps outlined in this article, you can identify potential problems early on, prevent costly repairs, and prolong the lifespan of your water heater. Remember, if you’re uncertain about any aspect of testing your water heater, it’s always best to consult a professional plumber for expert advice and assistance. Stay proactive and enjoy the comfort of hot water year-round!